Click on the links below for a review or fresh look at some of the most popular PowerPoints from classes I've taught in the Denver and surrounding communities over the years.


Click on the links below for a review or fresh look at some of the most popular PowerPoints from classes I've taught in the Denver and surrounding communities over the years.
In my book, the month of March in any year means the bulk of winter is in the rear view mirror. Not that snow and cold events are over. We hope for plenty more snow and rain since we're behind in moisture totals.
This is the month I take a good, hard look at my garden tools and then make decisions on new purchases or not ... ah heck, they're still good for another year or three. Out comes the soapy bucket, cleaning rags, sharpening tools, oil, and lastly, finding anyone in my family to high fist me for a job well done.

I used to say back in the day when I had the will and a stronger back to regularly jog for health (they call it running now), that the hardest part is putting your shoes on. Once your shoes are on you can't easily change your mind.
With garden tools, the hardest part in regular cleaning and maintenance is simply grabbing them from the hook or dusty shelf. If not given the attention they deserve, they'll sit or hang (uncleaned) until a hole needs digging or the roses pruned in late April. Then you'll be disappointed that you didn't care for them back in March when there was a foot of snow on the ground! No excuses, it is tool time.
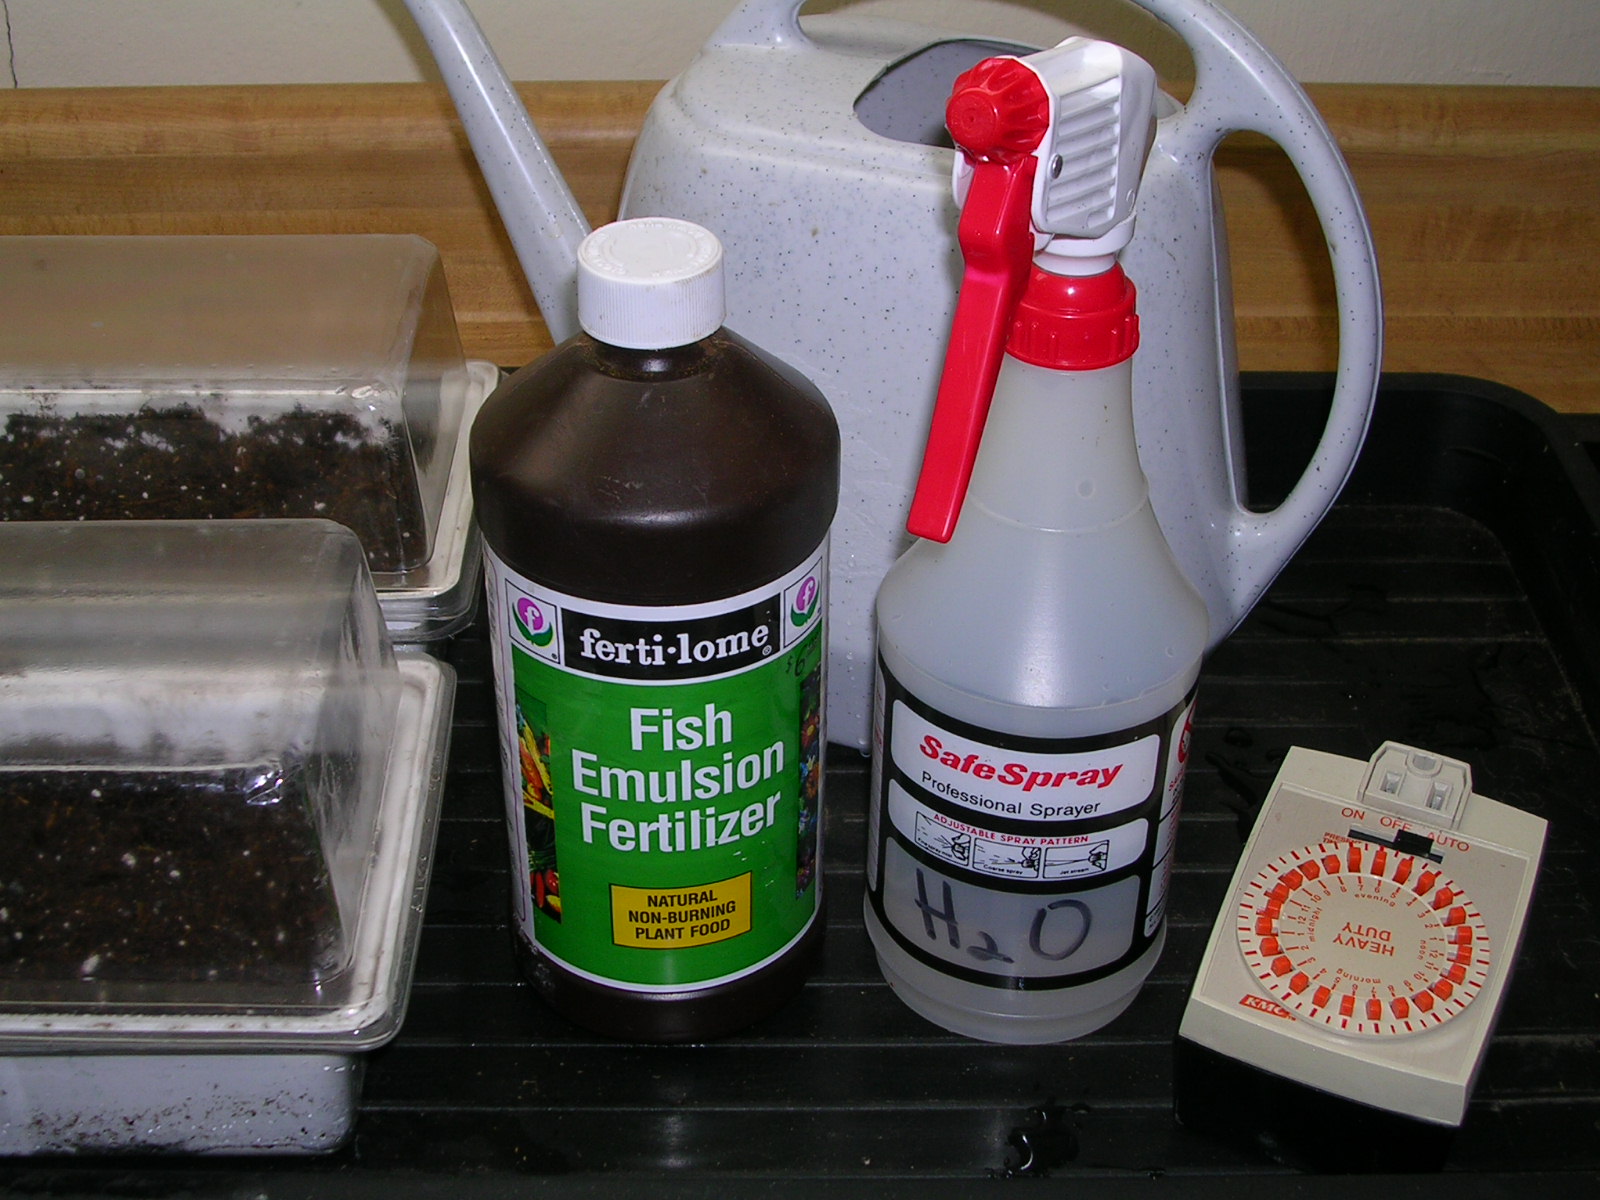
First, why clean them? Just like washing our hands to remove germs and bacteria, we need to do the same for tools. No need to spread any harmful pathogens from last year to plants in the garden and new ones that will be planted soon. Remember, tools include plant trellises, cages and containers, they'll need a good washing and disinfecting too. Wait for a warm spring day when you can clean them outside.

Step 1. Clean and Disinfect
Pruners easily dissemble by removing the nut or screws that hold the blades together, the spring coil will slip off. Keep track of the pieces. Clean each tool well before disinfecting. Warm, liquid dish soap is all you need, use a stiff brush for hard to reach places. If there's dried on residue or sap, soak for a bit in soapy water or try Scrubbing Bubbles® which also disinfects. Lysol original or store brand version that is phenol-based also works well as a disinfectant.
Avoid using diluted bleach products to disinfect pruners and other sharp edged tools. Bleach is very corrosive and can create nicks or pits to metal tools.
Always rinse well after cleaning with water and dry with a clean cloth.
Rust can be removed a couple of ways.
Soak exceptionally rusty tools in a jar or can of white vinegar for several hours or overnight. For shovels, soak a large rag with vinegar, wrap it around the shovel blade, cover with plastic and let it sit overnight. Use a wire brush after soaking to remove any residual rust. After soaking any tool, wash with soapy water, rinse and dry.
You can also try some elbow effort with sandpaper, steel wool or tried and true S.O.S. steel wool pads for rust.
Step 2. Sharpening
Want a superior experience preparing a meal and maintaining a garden? I'm assuming your answer is yes ... both disciplines require sharp tools. Sure, it can seem like an intimidating task, but it doesn't have to be that way.
The easiest way to sharpen is to take your clean tools to a reputable garden center, hardware store, small business or family friend who specializes in sharpening gardening tools. For the sake of not leaving out anyone who offers this service, I won't list sharpening resources. Search online, network with garden friends and no doubt you'll find a good fit. Prices should be very reasonable.
For DIY, having a couple of sharpening tools will help tremendously. A carbide file is great for smaller tools like pruners, loppers and small snipper shears. A mill file works well on shovel blades.
Once all your tools are cleaned, disinfected and sharpened, give them a wipe down with some vegetable oil which will help prevent rust through the season. Bypass pruners will benefit from a drop or two of 3 in 1 oil to keep the mechanism lubricated.
 |
| photo from Pinterest |
I've read where gardeners brightly paint the handle of their trowel and leave it in a planting bed or someplace around the garden where it will be easily spotted.
A pocketed apron is handy to hold and carry tools.
They sell plastic tubs decked out with a saddle bag to hold all sorts of tools and maybe an adult beverage.
Filling a bucket with sand or cat litter and oil then placing tools with the sharp side down is a handy idea too. They're kept clean and sharp for your use all season.
My tools are in a couple of places - a shelf in the garage for the quickest access and on hooks in the shed. Clean tools, sharpened pruners, life is good.
4. Resources
How to Clean and Sharpen Tools
Clean and Disinfect Gardening Tools and Containers
How to Properly Clean your Garden Tools & Pots
Video - Laura, The Garden Answer How to Clean & Sharpen your Garden Tools
Video - I talk tools with Alan Rollinger, Retired, Brilliant Landscape Designer

My tools, all cleaned up, sharpened and oiled and ready to rock 'n garden!